In a previous life as an online teacher Jill Lyall conducted online tutorials and often used the whiteboard function. Teaching humanities, she frequently needed to have students pull apart complex ethical issues, or different types of approaches to community development and leadership. She found the drawing tools very useful in dividing up the whiteboard and in having students move words or symbols around.
Now using Zoom students can type, draw, and drag text or images around the whiteboard. The video below demonstrates the black tool bar and shows the different annotation tools that can be used by both host and participants.
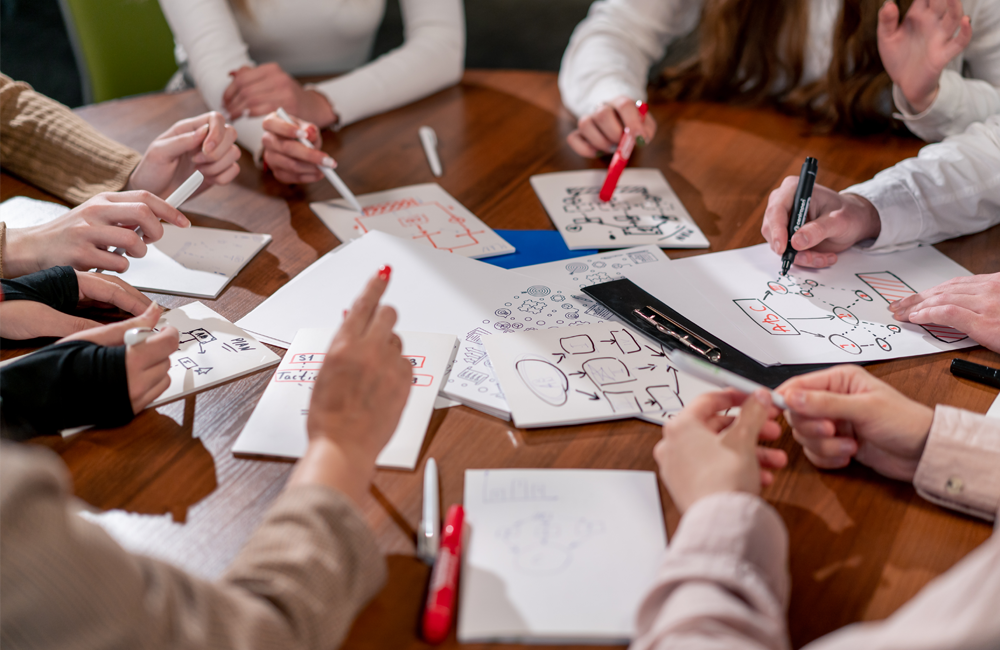
The demonstrated exercises reinforce how great the whiteboard is for group collaboration and how it can be used to facilitate group discussions, reflections, brainstorming or analysis. The host should demonstrate the technique to students first in the main room, then allow them to try it in their breakout rooms.
When in their small groups, it is crucial that each student breakout room nominates a whiteboard initiator, because the initiator can save a clear copy of the completed whiteboard, but others in the group will find they will have the black tool bar obstructing some of the whiteboard in the image they save.

Whiteboard with annotations
Steps for students in breakout rooms:
- Nominate one person in their group to be the whiteboard initiator, and to share the whiteboard via screen sharing
- Students collaborate to solve the question or problem that has been set
- Nominated student then saves the results of the group work
- Nominated student can also share the results with the rest of the team via file sharing in chat, email or Moodle, so that they also have clean copies.
On reconvening in the main Zoom room, the host can ask the student groups to share their results with the larger group, by one of two methods – file sharing or screen sharing.
File sharing: The advantage of file sharing is that the files are kept within the Zoom chat, and this can be saved and distributed later. Students can also download the individual shared images to view later as part of their personal reflection on the tutorial.
Screen sharing: The whiteboard initiator can share their screen by having the whiteboard created by the group open on their desktop, and then sharing it with the group.
If you lack confidence in using Zoom, additional resources on how to use Zoom and whiteboard can be found on the Teaching Remotely Wattle site. Alternatively, email the Education Design team to arrange a walk-through of the software and pedagogical advice on how to apply Zoom.
This article is the second in a series about Zoom. The first article was Teaching Remotely with Zoom
Jill Lyall, Claire Brooks and Dr Scott Rickard are Education Designers in the Education Design (ED) team – one of three teams within the ANU Centre for Learning and Teaching.


